Have an Android/iOS/MacOS Device?
Follow the Instructions Below
All of our events will be imported into your Android/iOS/MacOS calendar and updated whenever changes are made.
iOS users
- Open the calendar app
- Press ‘Calendars’ at the bottom of the screen
- Click ‘Add Calendar’
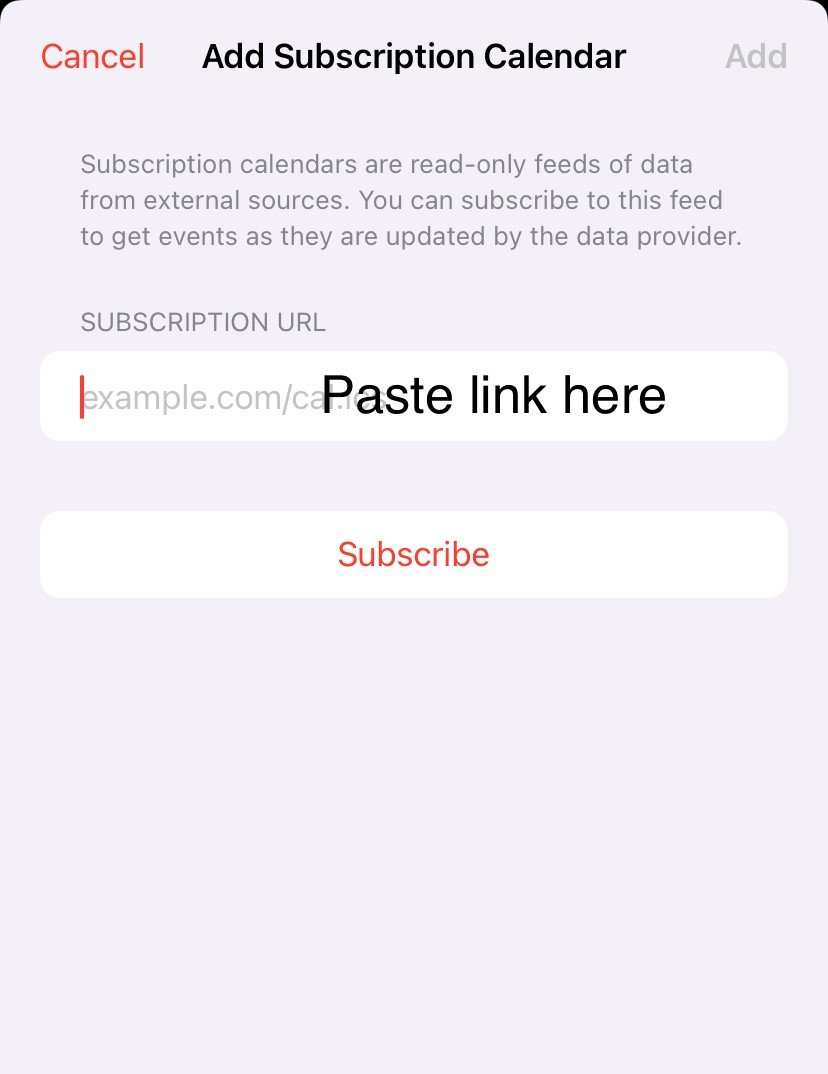
- Select ‘Add Subscription Calendar’
- Copy & paste the following link: https://calendar.google.com/calendar/ical/runthroughoffice%40gmail.com/public/basic.ics
- Note: Do not directly click the link to add the calendar otherwise you will not see any updates


Android users
- You need to sign in to your google calendar account via a desktop computer
- In the taskbar on the left of your screen, click the + sign next to other calendars
- Select ‘From URL’ and then copy * & paste the following link: https://calendar.google.com/calendar/ical/runthroughoffice%40gmail.com/public/basic.ics
- Once your phone calendar updates/syncs this should now appear (It can take up to 8 hours)
- Note: Do not directly click the link to add the calendar otherwise you will not see any updates


MacOS users
- In the Calendar app on your Mac, choose File > New Calendar Subscription.
- Copy and paste the following link: https://calendar.google.com/calendar/ical/runthroughoffice%40gmail.com/public/basic.ics and then click subscribe.
- Enter a name for the calendar in the Name field, then click the adjacent pop-up menu and choose a colour.
- Click the Location pop-up menu, then choose an account for the subscription.
- If you choose your iCloud account, the calendar is available on all your computers and devices that are set up with iCloud.
- If you choose On My Mac, the calendar is saved on your computer
- Click the Auto-refresh pop-up menu, then choose how often to update the calendar.
